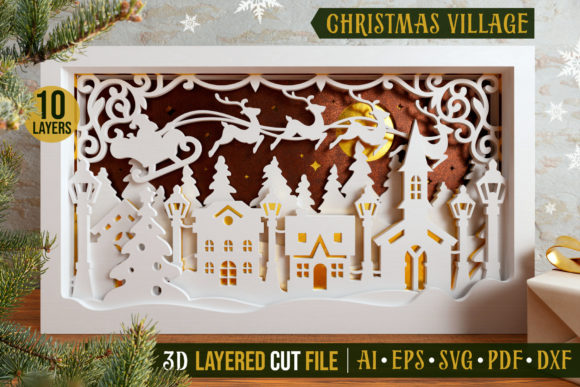
Christmas Village 3D Layered Cut File
Transforming your living space into a festive wonderland doesn’t have to be complicated or expensive. The Christmas Village 3D Layered Cut File offers a creative, hands-on solution for anyone looking to add a touch of holiday magic to their home or business. Whether you are a seasoned crafter with a Cricut or Silhouette machine, or someone who has never used a cutting tool before, this digital asset provides a structured yet flexible way to create stunning three-dimensional decor.
This project is designed to accommodate any skill level. It takes the guesswork out of complex designs by providing fully layered files that guide you through the process step-by-step. The result is a personalized Christmas village scene that stands out on a mantel, hangs beautifully on a wall, or serves as a centerpiece for your holiday gatherings. Beyond personal enjoyment, these crafts also present a unique opportunity for small business owners to create sellable products during the peak holiday season.
Why Choose a 3D Layered Design?
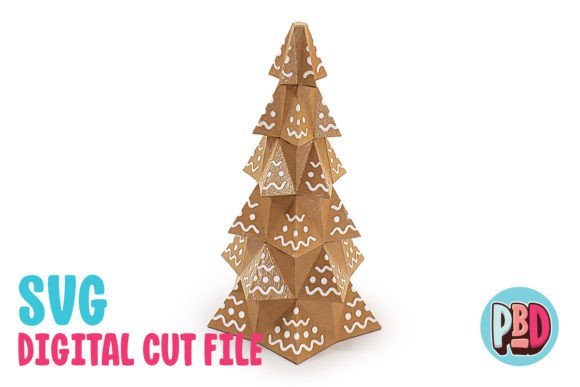
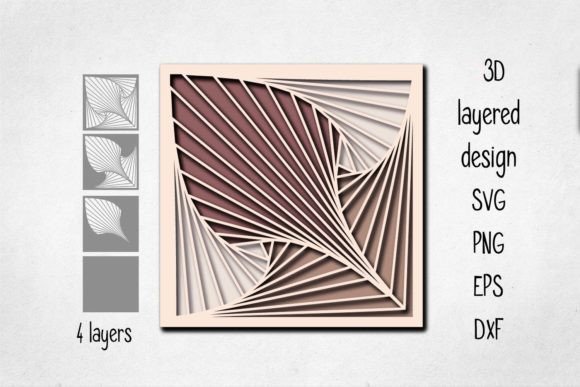
Traditional flat cutouts can look nice, but they often lack depth and visual interest. A 3D layered approach changes the entire dynamic of the decoration. By stacking multiple layers of material—such as cardstock, plywood, or acrylic—you create shadows and perspective that make the scene pop. This technique mimics the look of a diorama or a miniature town, giving your creation a professional and polished appearance.
The primary appeal of the Christmas Village 3D Layered SVG Cut File lies in its versatility. You are not limited to one type of material. While standard cardstock is popular for its ease of use and affordability, many crafters prefer wood for a rustic, farmhouse aesthetic. Others might choose vibrant colored papers or even metallic foils to catch the light. The digital file remains the same; only the physical medium changes, allowing you to customize the look to match your specific interior design theme.
How It Works: From Digital File to Physical Art
One of the biggest advantages of using a digital cut file is the streamlined workflow. You do not need to draw the intricate details yourself. Instead, you leverage existing design work to focus on the assembly and customization. Here is a practical breakdown of how the process typically unfolds:
- Download the File: Once purchased, you will receive the digital file on your computer. Ensure it is saved in a format compatible with your cutting software, such as .SVG or .DXF.
- Upload to Software: Open your preferred cutting software (like Cricut Design Space, Silhouette Studio, or Adobe Illustrator). Import the file here. Most files come pre-sized, but you can easily resize them to fit your desired display area.
- Prepare Your Materials: Select your material. If you are using cardstock, ensure it is thick enough to hold its shape. For wood, consider thin birch or basswood sheets which cut cleanly on most machines.
- Cut Each Layer: Load your material into your cutting machine. Use the provided guide to cut each layer individually. Some files may require you to cut different colors or materials separately to achieve the final color scheme.
- Stack and Assemble: This is where the magic happens. Using the guide included in the file download, stack the layers in the correct order. For cardstock projects, use double-adhesive foam dots, tabs, or tape to create space between each layer. This spacing is crucial for achieving the 3D effect.
- Secure the Structure: For heavier materials like wood, you can use acrylic spacers, foam blocks, or wooden dowels to maintain distance between layers. Glue the bottom layer securely to a backing board or frame if you plan to hang it on the wall.
The guide provided with the file is invaluable. It usually includes a visual map showing which layer goes on top of which, ensuring that buildings, trees, and snow elements align correctly. Without this guide, assembling a multi-layered piece could feel overwhelming, but with it, the process becomes logical and satisfying.
Practical Applications and Use Cases
The utility of the Christmas Village 3D Layered Cut File extends far beyond simple decoration. Because the output is a tangible, high-quality product, it opens doors for various applications across different contexts.
Home Decor and Gifting
For hobbyists and families, this project is an excellent way to engage in seasonal activities. Creating a village scene together can be a fun weekend project for parents and children. The finished product makes for a heartfelt gift. Unlike mass-produced decorations, a handmade 3D village shows effort and thoughtfulness. It adds a warm, inviting atmosphere to any room, drawing attention from guests and serving as a conversation starter.
Small Business Opportunities
If you run an Etsy shop, a local boutique, or sell at craft fairs, this file can boost your inventory. The demand for handmade, unique holiday decor is consistently high. By producing these villages in bulk, you can offer premium-priced items that stand out against generic store-bought ornaments. Consider offering customization options, such as choosing specific house colors or adding names to the village, to increase perceived value.
Educational and Community Projects
Educators and community center leaders can use this project to teach skills related to precision cutting, spatial reasoning, and assembly. It is suitable for older students or adult education classes focusing on crafting. The clear instructions allow for group settings where participants can help each other with the stacking process, fostering a sense of community.
Important Considerations Before You Start
While the Christmas Village 3D Layered SVG Cut File is accessible to beginners, there are a few practical considerations to keep in mind to ensure success.
Machine Capability: Not all cutting machines handle thick materials equally well. If you plan to cut wood, check your machine’s specifications regarding thickness limits. You may need to make multiple passes for thicker plywood, which requires patience and proper blade settings.
Material Quality: Cheap cardstock may tear or buckle when stacked. Invest in good quality paper or cardstock that has enough rigidity to support the weight of upper layers. Similarly, for wood, smooth edges after cutting are essential for a clean finish. Sanding lightly can improve the final look.
Space Planning: Measure your intended display area before resizing the file. A large village might overwhelm a small shelf, while a tiny one might get lost on a wide mantel. The file allows for scaling, so take time to visualize the proportions.
Adhesives: The choice of adhesive affects durability and appearance. Foam dots provide a clean, shadow-free lift for paper. For wood, strong construction adhesive or hot glue works best. Avoid excessive glue that might seep out and ruin the clean lines of your design.
Final Thoughts
Creating a Christmas village doesn't require advanced artistic skills, just a willingness to follow steps and enjoy the process. The Christmas Village 3D Layered Cut File bridges the gap between digital convenience and physical creativity. It empowers you to produce professional-looking decor that enhances your holiday spirit. Whether you are crafting for joy, for gifting, or for profit, this file provides the foundation for a memorable seasonal project. Embrace the layers, experiment with materials, and watch your digital file transform into a beautiful, three-dimensional reality.