Just Graduated 3D Shadow Box Paper Cut
Crafting is rarely just about the final object; it is a structured process of design, execution, and assembly. For hobbyists, educators, and small business owners alike, the transition from digital concept to physical reality requires precision and planning. The Just Graduated 3D Shadow Box Paper Cut represents a sophisticated intersection of these elements. It is not merely a static image but a layered architectural template that demands careful workflow management to achieve its intended depth and impact. Understanding how this specific template fits into your broader creative or professional routine allows for better resource allocation, higher quality output, and more efficient project completion.
Understanding the Template Architecture
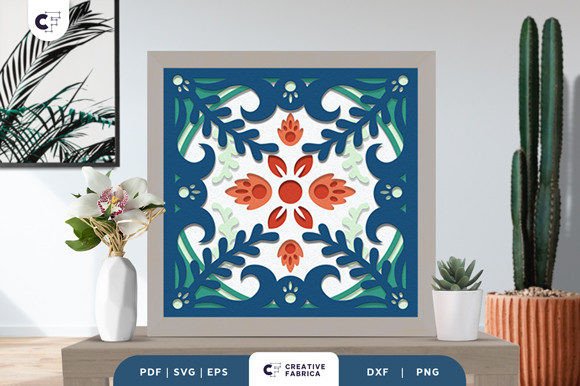
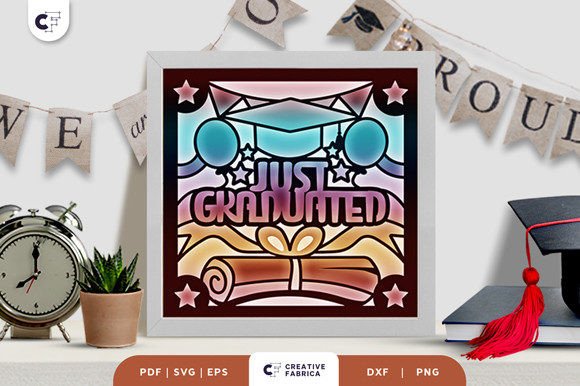
At its core, the Just Graduated 3D Shadow Box is a multi-layered design system. Unlike single-plane cutouts, this template relies on spatial hierarchy to create visual interest. The design consists of eight distinct layers, each contributing to the overall narrative of the graduation theme. This layering technique transforms a simple square format—measuring 20.32×20.32 cm—into a dynamic piece of wall art. For those managing multiple craft projects or producing inventory for a small business, understanding this structural complexity is crucial for time estimation and material planning.
The versatility of the file formats provided ensures compatibility across various stages of production. You will receive the template in SVG, PDF, EPS, PNG, and DXF formats. Each format serves a specific role in the workflow:
- SVG: Essential for vector-based cutting machines like Cricut or Silhouette. This format allows for infinite scalability without loss of quality, which is vital if you need to adjust dimensions while maintaining aspect ratio.
- PDF & EPS: Ideal for high-resolution printing or integration into larger graphic design workflows using Adobe Illustrator or InDesign.
- DXF: Often used in laser cutting applications or industrial CNC routers, making this template adaptable for commercial manufacturing environments.
- PNG: Useful for quick previews, digital mockups, or manual tracing if advanced software is unavailable.
Integration into Your Creative Workflow
For professionals and freelancers, integrating digital assets into physical products requires a seamless bridge between software and hardware. The inclusion of an SVG file specifically designed for cutting machines streamlines this process. If you are a maker selling custom gifts, this template reduces the setup time significantly. You can import the SVG directly into your cutting software, arrange the layers efficiently on the virtual mat, and proceed to cutting with minimal error correction.
However, efficiency does not stop at the machine. The workflow extends to preparation and post-processing. Before initiating the cut, consider the paper stock. The template is optimized for Encore Cardstock 80 lb cover (216 gsm). Using a lighter paper may result in fragile layers that cannot support the weight of subsequent layers, leading to structural failure. Conversely, excessively thick cardstock might resist the cutting blade, causing jagged edges or incomplete cuts. Selecting the right material is a critical decision point that affects both the aesthetic outcome and the durability of the final product.
Manual vs. Machine Execution
While digital cutters offer speed and consistency, they are not the only viable path. The template is equally suitable for manual execution using an art knife and scissors. This approach appeals to artisans who value the tactile nature of the craft or those who do not own specialized equipment. When choosing manual execution, the workflow shifts from digital optimization to hand-eye coordination. It is advisable to use a self-healing cutting mat and a sharp, fresh blade to ensure clean lines. This method allows for greater artistic control but requires more time investment per unit, which should be factored into your pricing strategy if selling finished goods.
Assembly and Structural Integrity
The true test of any shadow box project lies in its assembly. With eight layers, the potential for misalignment is significant. A systematic approach to assembly is necessary to maintain the integrity of the design. The process typically involves gluing or securing each layer in sequence, starting from the background and moving forward. Double-sided tape is often preferred over liquid glue for its ability to provide immediate hold without warping the paper. Liquid adhesives can introduce moisture, which causes cardstock to buckle, ruining the crisp edges achieved during the cutting phase.
Organization plays a pivotal role here. Labeling each layer before assembly prevents confusion, especially when dealing with similar shapes or intricate details. For educators teaching design principles or students learning about spatial composition, this assembly process serves as a practical lesson in sequencing and attention to detail. It reinforces the idea that complex outcomes are the result of orderly, incremental steps.
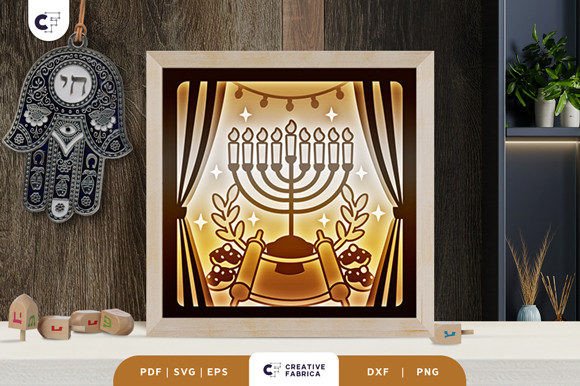
Advanced Applications: Lighting and Display
One of the most compelling aspects of the Just Graduated 3D Shadow Box is its adaptability. While it functions beautifully as a framed wall decoration, it can be elevated through additional technological integration. By incorporating LED strips between the layers, the template transforms into a light box. This modification adds a new dimension to the user experience, enhancing visibility and creating a warm, celebratory ambiance. This feature is particularly effective for graduation gifts, where the emotional resonance of the item is amplified by the glowing effect.
Implementing lighting requires foresight in the planning phase. You must account for the thickness of the spacers that separate the layers to allow room for the LEDs. This consideration impacts the choice of frame depth and the spacing mechanism. For entrepreneurs, this opens up a niche market for "smart" crafts or illuminated decor, allowing for premium pricing due to the added value of functionality and aesthetic appeal.
Quality Control and Final Output
Regardless of the method chosen, quality control is non-negotiable. Inspect each cut edge for burrs or tears. Remove any loose paper fragments immediately to prevent them from adhering to adjacent layers during assembly. When assembling, verify that the alignment matches the original design intent. Misaligned layers can distort the perspective, diminishing the three-dimensional effect.
It is also important to manage expectations regarding color representation. Digital images are for preview purposes only. The actual final product color may vary slightly due to lighting sources and the specific batch of paper used. Communicating this variability to clients or recipients helps maintain transparency and professionalism. Sourcing consistent materials, such as visiting dedicated cardstock shops, ensures that future projects remain uniform in appearance, which is critical for brand consistency in a business context.
Conclusion
The Just Graduated 3D Shadow Box Paper Cut is more than a simple craft template; it is a comprehensive project framework that supports various levels of technical proficiency and creative ambition. Whether you are a busy parent looking for a meaningful gift, a teacher demonstrating design concepts, or a small business owner expanding your product line, this template offers a structured path to success. By respecting the workflow—from file selection and material preparation to precise cutting and meticulous assembly—you ensure that the final product reflects the care and effort invested in its creation. Embracing the nuances of this process allows you to produce work that is not only visually stunning but also structurally sound and professionally executed.